Intro
Display dialog boxes from shell scripts
This article mainly focused on some common usage of dialog, for more detailed information,
please check dialog -h or much more detailed one man dialog.
Like any other front-end technology, I highly recommend you to follow the instruction with hands dirty.
Universal Options
--title <title> to specify the widget's title
Basic Box options
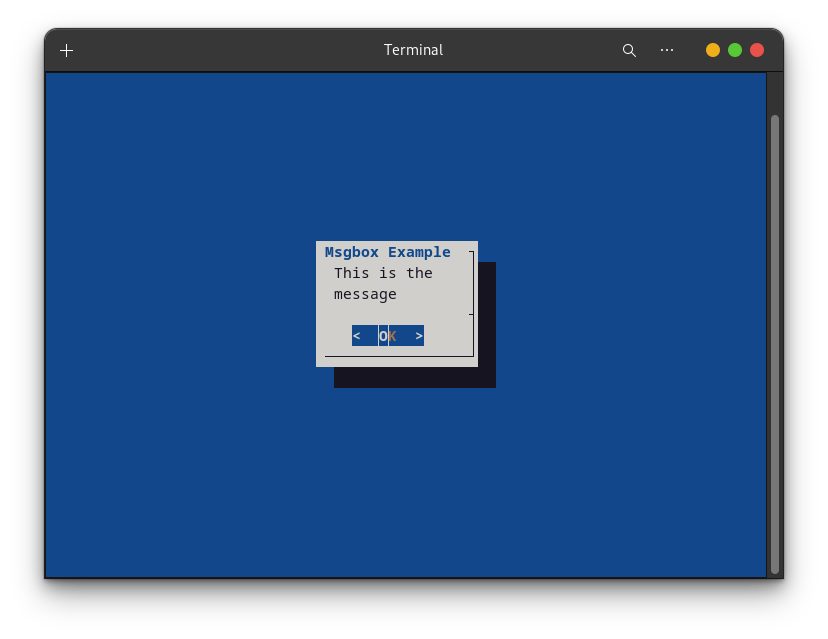
–msgbox
To display some information
--msgbox <text> <height> <width>
example
dialog --title "Msgbox Example" --msgbox "This is the message" 0 0;clear
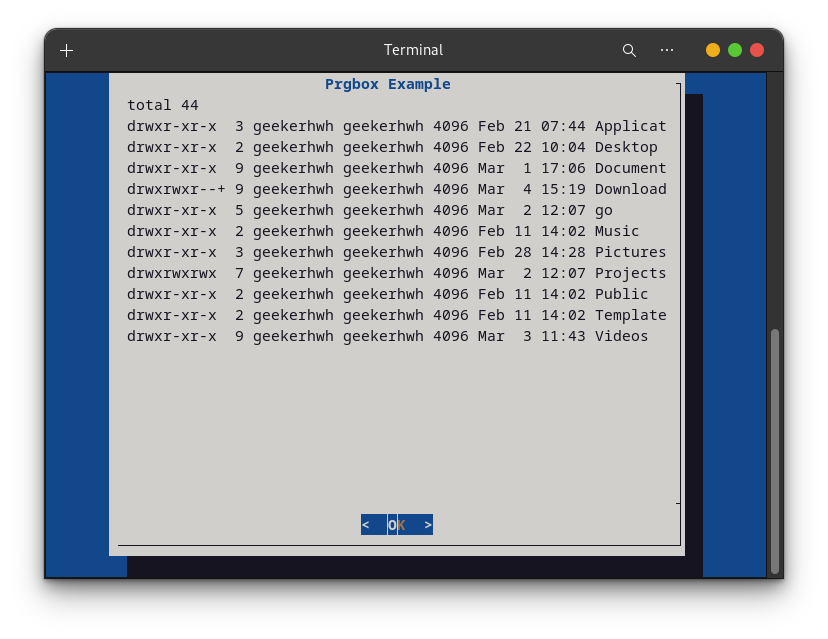
–prgbox
--prgbox <text> <command> <height> <width>
dialog --title "Prgbox Example" --prgbox "ls -l" 40 64;clear
–yesno
The easiest one, the syntax is as following:
--yesno <text> <height> <width>
let’s see an example
choice=$(dialog --stdout --title "Yesno Example" --yesno "yes or no?" 0 0 && echo "1" || echo "2");clear
# You can get the value of the result
echo $choice
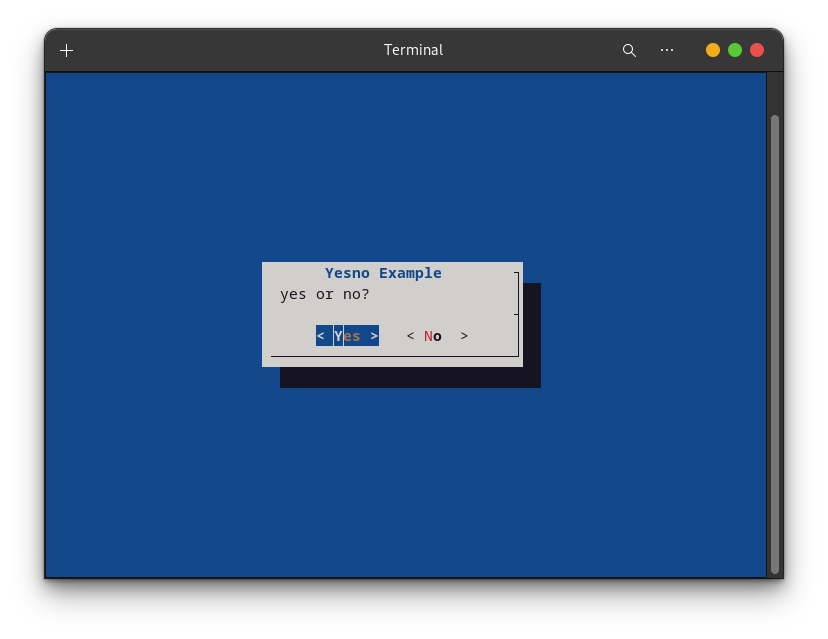
We created a yesno, which will be displayed to stdout, with a title named “Yesno Example”, with some text to describe it. Zero means to automatically adjust the height of it and the width of it according to the terminal size.
–menu (Single-choice box)
--menu <text> <height> <width> <menu height> <tag1> <item1>...
selected_option=$(dialog --stdout --title "Menu Example" --menu "use Arrow keys to select, Enter to confirm" 0 0 0 \
    1 "Option 1" \
    2 "Option 2" \
    3 "Option 3" \
    4 "Option 4");clear

# You can get the value of the result
echo $selected_option
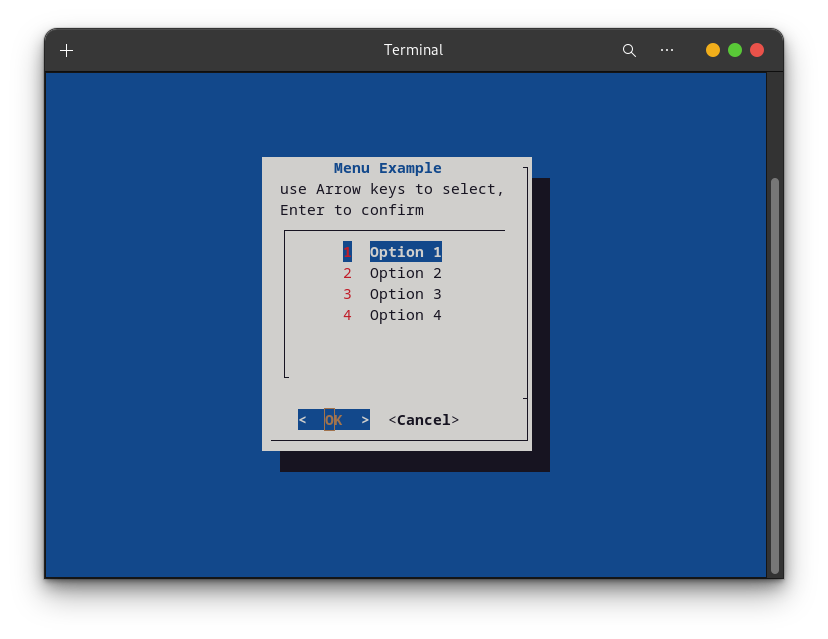
We created a menu, which will be displayed to stdout, with a title named “Menu Example”, with some text to describe how to interact with it. Zero means to automatically adjust the height of it, the width of it, and the menu-height of it according to the terminal size. Then “1” is the first tag, “Option 1” is the first item……
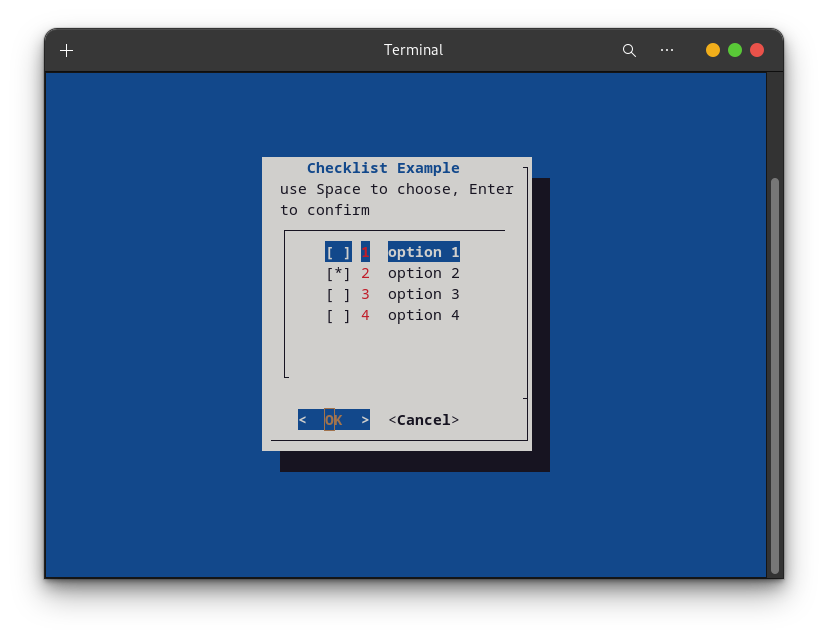
–checklist (Multi-choice box)
--checklist <text> <height> <width> <list height> <tag1> <item1> <status1>...
selected_options=$(dialog --stdout --title "Checklist Example" --checklist "use Space to choose, Enter to confirm" 0 0 0 \
    1 "option 1" off \
    2 "option 2" on \
    3 "option 3" off \
    4 "option 4" off);clear
# # You can get the value of the result
echo $selected_options
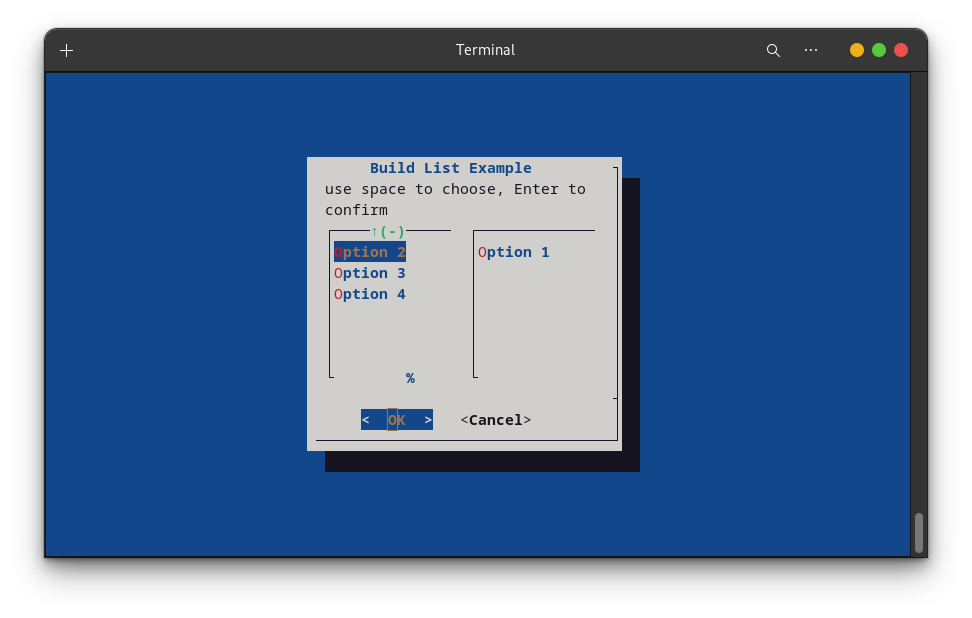
–buildlist
--buildlist <text> <height> <width> <list-height> <tag1> <item1> <status1>...
selected_options=$(dialog --stdout --title "Build List Example" --buildlist "use Space to choose, Enter to confirm" 0 0 0 \
    1 "Option 1" on \
    2 "Option 2" off \
    3 "Option 3" off \
    4 "Option 4" off);clear
# You can get the value of the result
echo $selected_options
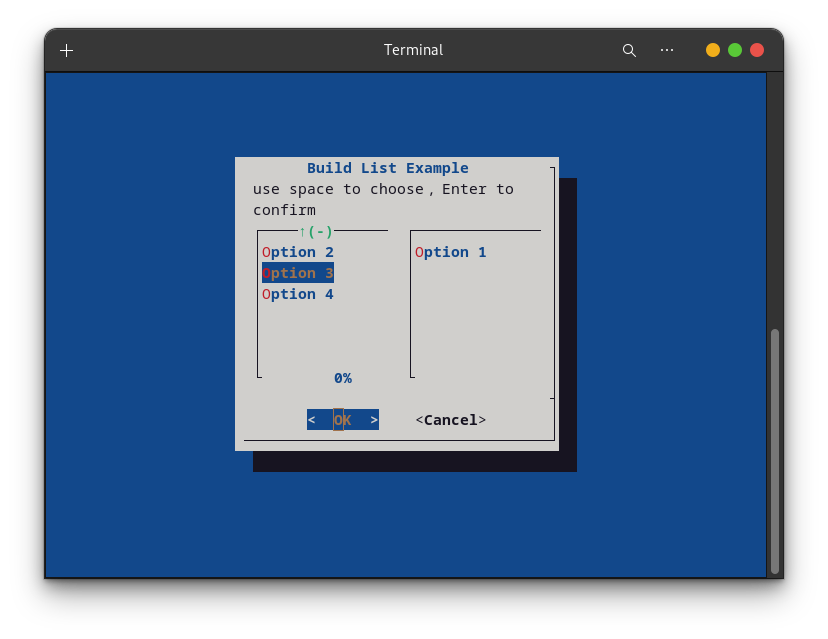
We created a buildlist, which will be displayed to stdout, with a title named “Build List Example”, with some text to describe how to interact with it. Zero means to automatically adjust the height of it, the width of it, and the list-height of it according to the terminal size. Then “1” is the first tag, “Option 1” is the first item, the “on” is the first status……
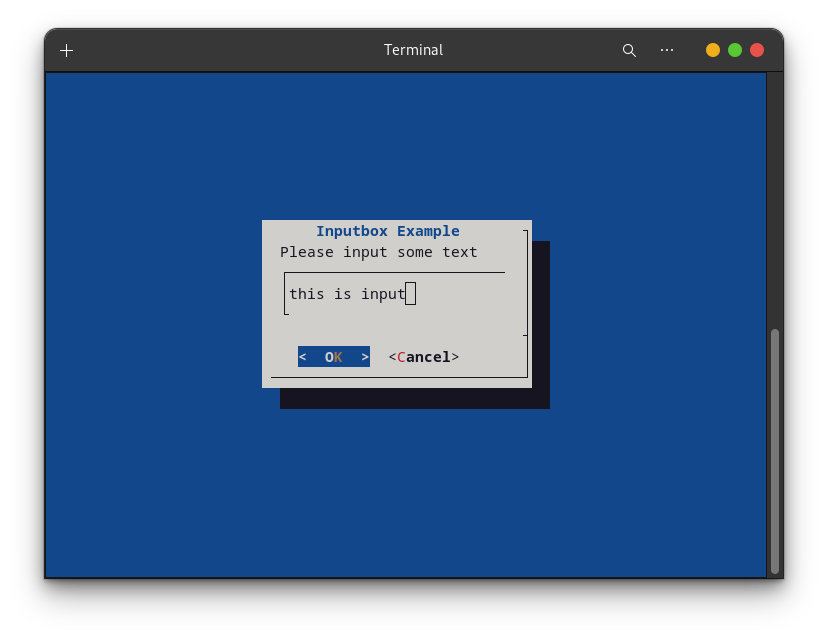
–inputbox
--inputbox <text> <height> <width> [<init>]
user_input=$(dialog --stdout --title "Inputbox Example" --inputbox "Please input some text" 0 0);clear
# You can get the value of the result
echo $user_input
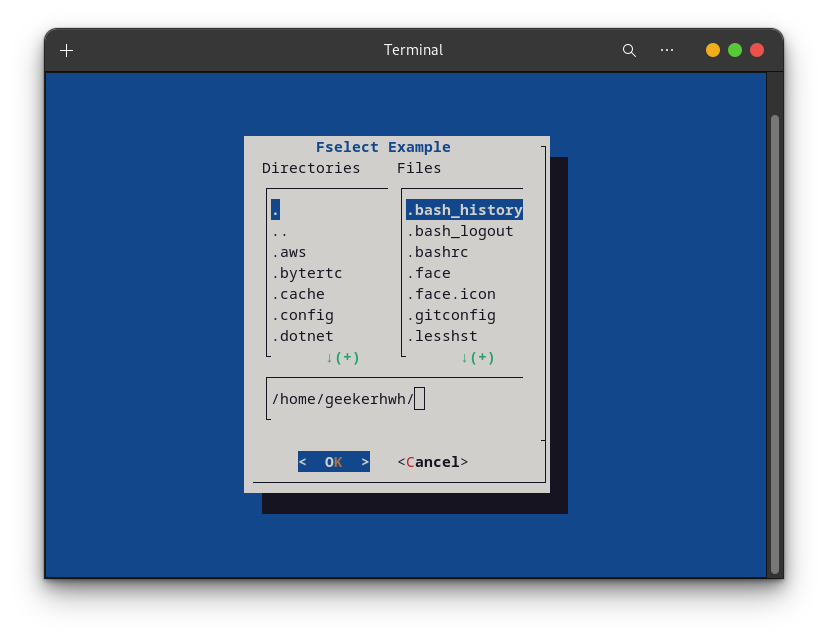
–fselect
--fselect <filepath> <height> <width>
selected_file=$(dialog --stdout --title "Fselect Example" --fselect /Default/Path 0 0);clear
# You can get the value of the result
echo $selected_file
–calendar
--calendar <text> <height> <width> <day> <month> <year>
selected_date=$(dialog --stdout --title "Calendar Example" --calendar "use Arrow keys to select, Enter to confirm" 0 0);clear
# You can get the value of the result
echo $selected_date
