Hugo
 Hugo是一个用Go语言实现的静态网站生成器,有着惊人的渲染速度和拓展性,而且提供了详尽的文档,十分容易上手
鉴于篇幅关系,本篇着重于部署层面,不讨论如何使用Hugo进行前端制作渲染,详尽教程请看Giraffe Academy - Mike的系列介绍
Hugo是一个用Go语言实现的静态网站生成器,有着惊人的渲染速度和拓展性,而且提供了详尽的文档,十分容易上手
鉴于篇幅关系,本篇着重于部署层面,不讨论如何使用Hugo进行前端制作渲染,详尽教程请看Giraffe Academy - Mike的系列介绍
本文默认读者"会使用"Git & Github技术栈
本文介绍Hugo静态网站的两种部署方法,全程免费,保证让君收获满满。
- Github Pages + Github Actions自动化部署
- Github + Cloudflare Pages自动化部署(附全球CDN网络加速! XD)
利用Github Actions自动化部署到Github Pages
参考Hugo官方文档 - Hosting on Github
- 创建一个公开的Github仓库(私有的对于Github Actions的调用有限制)
- 利用Git将你的本地Hugo项目文件夹(网站的整个项目文件夹)都push到该仓库
- 到该仓库的设置中Settings > Pages将Build and deployment选项的源(source)改为Github Actions
- 在你本地的项目文件夹中创建该.github文件夹,在其下创建workflows文件夹,再在workflows下创建hugo.yaml,即
.github/workflows/hugo.yaml - 将下面的YAML文件(Github Actions配置文件)内容复制到刚创建的hugo.yaml中
# Sample workflow for building and deploying a Hugo site to GitHub Pages name: Deploy Hugo site to Pages on: # Runs on pushes targeting the default branch push: branches: - main # Allows you to run this workflow manually from the Actions tab workflow_dispatch: # Sets permissions of the GITHUB_TOKEN to allow deployment to GitHub Pages permissions: contents: read pages: write id-token: write # Allow only one concurrent deployment, skipping runs queued between the run in-progress and latest queued. # However, do NOT cancel in-progress runs as we want to allow these production deployments to complete. concurrency: group: "pages" cancel-in-progress: false # Default to bash defaults: run: shell: bash jobs: # Build job build: runs-on: ubuntu-latest env: HUGO_VERSION: 0.123.0 steps: - name: Install Hugo CLI run: | wget -O ${{ runner.temp }}/hugo.deb https://github.com/gohugoio/hugo/releases/download/v${HUGO_VERSION}/hugo_extended_${HUGO_VERSION}_linux-amd64.deb \ && sudo dpkg -i ${{ runner.temp }}/hugo.deb - name: Install Dart Sass run: sudo snap install dart-sass - name: Checkout uses: actions/checkout@v4 with: submodules: recursive fetch-depth: 0 - name: Setup Pages id: pages uses: actions/configure-pages@v4 - name: Install Node.js dependencies run: "[[ -f package-lock.json || -f npm-shrinkwrap.json ]] && npm ci || true" - name: Build with Hugo env: # For maximum backward compatibility with Hugo modules HUGO_ENVIRONMENT: production HUGO_ENV: production run: | hugo \ --gc \ --minify \ --baseURL "${{ steps.pages.outputs.base_url }}/" - name: Upload artifact uses: actions/upload-pages-artifact@v2 with: path: ./public # Deployment job deploy: environment: name: github-pages url: ${{ steps.deployment.outputs.page_url }} runs-on: ubuntu-latest needs: build steps: - name: Deploy to GitHub Pages id: deployment uses: actions/deploy-pages@v3 - 将刚做的修改进行commit并push到Github上
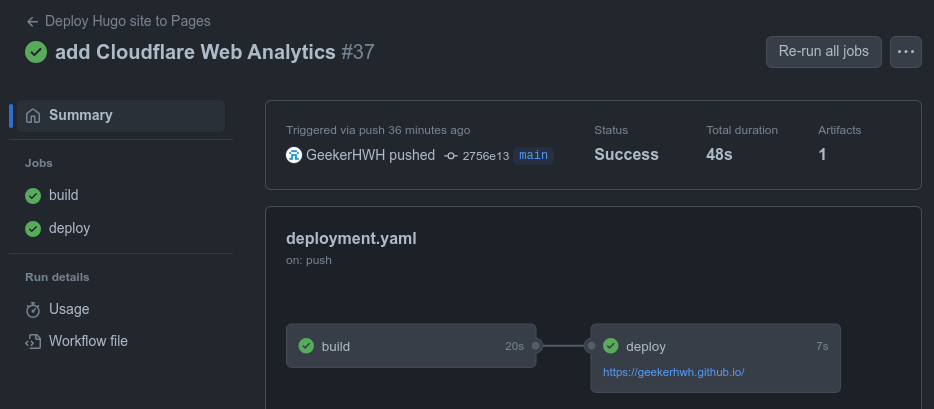
- 待Github Actions运行完毕就可以看到自己做的网站啦!
这种方法显然快是很快,可是如果你的目标用户在大陆,那用户体验可能就无法保证,尤其是css和图片用得过多的时候。当然,即便目标用户群体在海外,没有CDN的情况也是很难保证静态文件响应速度的。下面来介绍现世活佛Cloudflare的Pages服务,这是一项Severless的服务,不需要你关心底层原理以及服务器配置等一切信息!
Github + Cloudflare Pages自动化部署加全球CDN网络
 参考Cloudflare官方文档 - Deploy a Hugo site
这篇官方文档废话有点多,我们简化提炼最关键的信息
- 仍然,你需要先创建一个Github仓库
- 将你的Hugo项目文件夹推到刚刚创建的仓库中
- 注册登录打开Cloudflare Dashboard
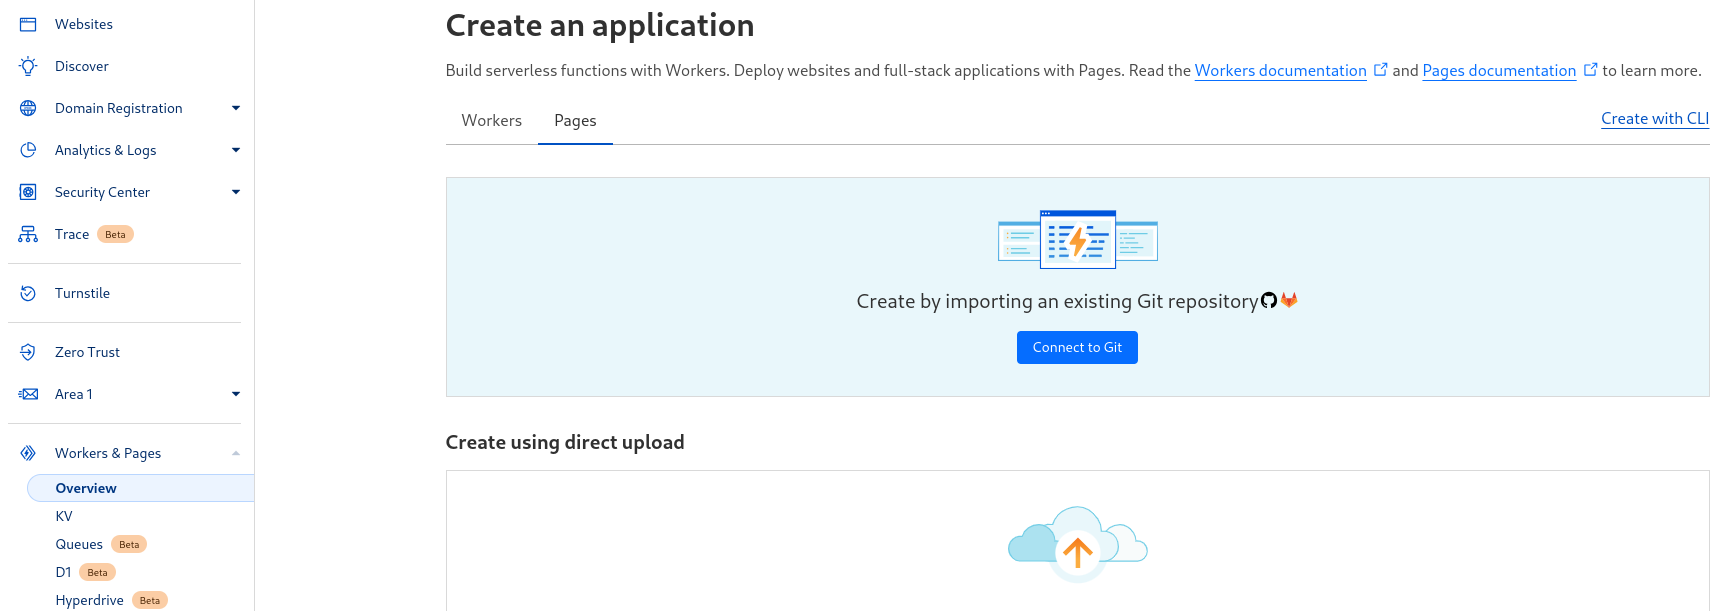
- 在左侧目录中选择 Workers & Pages > Create application > Pages > Connect to Git.
- 选择Github帐户和刚刚创建好的仓库,然后在Set up builds and deployments部分将Production branch的值设为main,将Build command设置为hugo,将Build directory设置为public,如下图所示
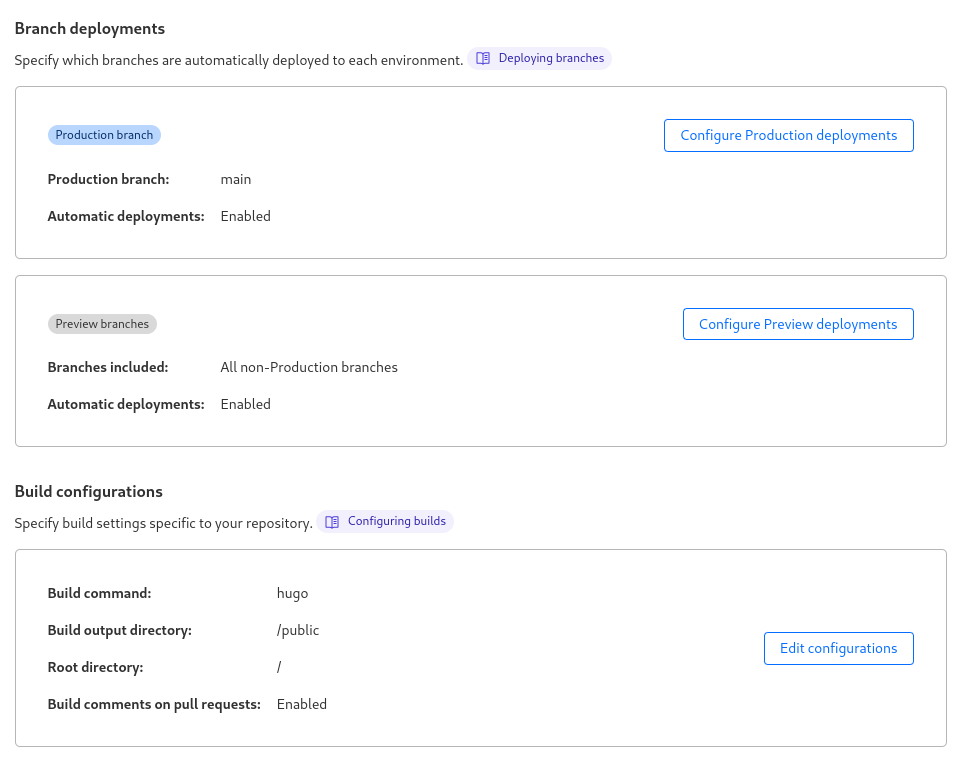
- 确定即可,点Save and Deploy
之后就可以去Pages页面查看属于自己的域名啦,可以看到示例中就是geekerhwh-github-io.pages.dev
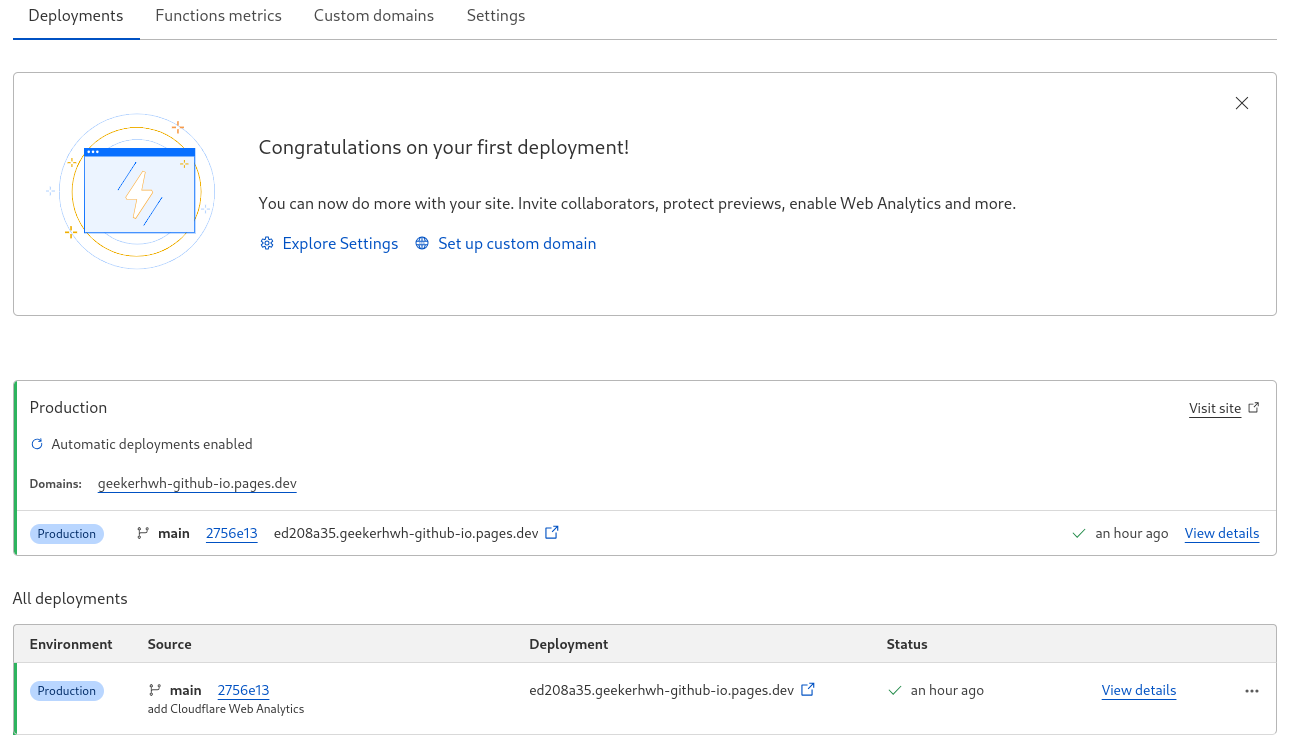
由于Cloudflare Pages是附全球CDN网络加速的,这下你的网站可以给天南海北五湖四海的用户快速访问啦!
当然啦,cloudflare这么大的云服务商我们还可以薅一些别的小服务的羊毛,比如Cloudflare Analytics用来监控你的网站的访问流量的数据等等,这些都可以在Cloudflare的dashboard里面翻着尝试尝试,反正没要银行卡做事就是硬气 XD